This is my first ever Tutorial so I hope I have included enough photos (but not too many) and that the instructions are clear enough for everyone regardless of ability. Email me if you need any further assistance.
I've made my bag using Inches but have included measurements in Millimetres also for those that prefer to use them. This bag is made to fit Australian sized cards (148mm x 105mm(A6) or 5 7/8" x 4 1/8").
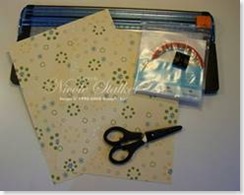
Supplies:
- 2 x 10" (254mm) x 7 1/2" (191mm) pieces of Designer Series Paper (or cardstock)
- Paper Trimmer & Scorer.
- Sticky Strip
- Paper Snips.
Step 1. Score longer side of both pieces at 2"(51mm) and 8" (203mm).
Step 2. Turn and score shorter side at 1 1/4" (32mm) and 3 1/4" (83mm). Fold all score lines.
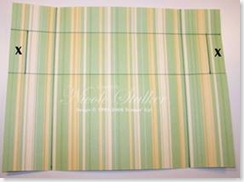
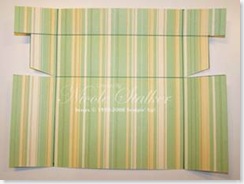
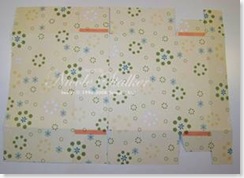
Step 3. Take one piece and using your paper trimmer you need to cut 3/4" (19mm) in on each side (as marked with X) between score lines, being careful not to go over score lines.
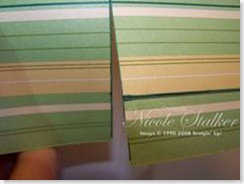
Step 4. Using paper snips cut along score line either side of section cuts just placed as shown. This will remove the cut section once both sides are done and create the lid section.
Step 5. Trim a small angled piece off top flap. This is how your 1st piece should now look. This is the back and lid section.
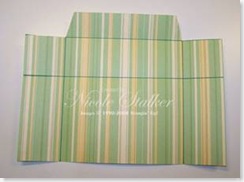
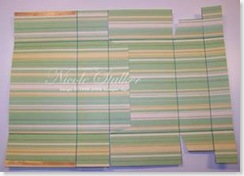
Step 6. Take 2nd piece of DSP and trim along score lines as previously. Make angled cuts in top section and remove top side pieces so you end up with a piece like that shown. This becomes the front and bottom sections.
Step 7. Place sticky trip on right side of flap as shown.
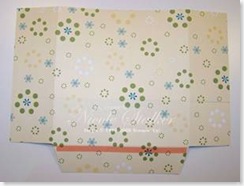
Step 8. Remove red liner on sticky strip and place base of 1st section onto 2nd section as shown taking care to match score lines. You should now have a piece like this.
Step 9. Place sticky strip on right side as shown.
Step 10. Place sticky strip on wrong side as shown.
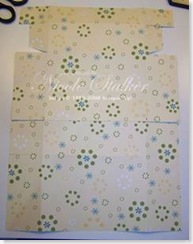
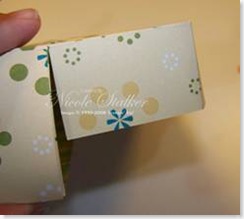
Step 11. Remove liner tape from bottom section and join back side piece to bottom side piece. Do the same for front side section. You should now have something resembling this.
Step 12. Do the same for the top side sections to complete lid.
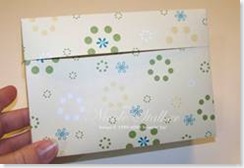
And this now should be what you end up with. All you need to do now is decorate it as you wish. If you have used DSP you can use the left over pieces to make some co-ordinating cards to go inside.
Here are some examples of finished boxes and some cards:
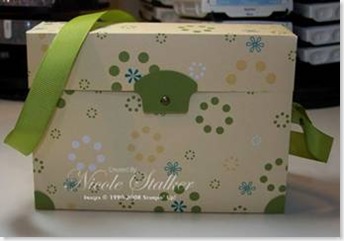
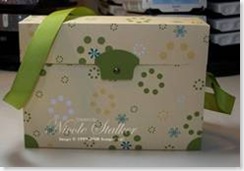
This is my finished tutorial box. I've used the Round Tab punch, 1" circle punch, Old Olive 5/8" grosgrain ribbon and Antique Brass Hodgepodge to decorate and complete my box.
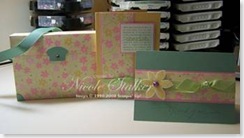
This is one made using the Spring Fling DSP and I've started making some cards to match using the left over DSP.
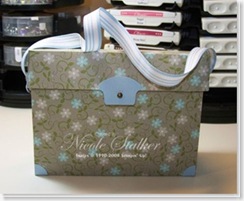
This is of course my cute little card box that I first made.
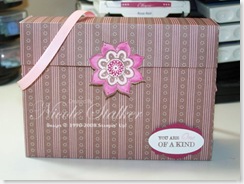
This final one is using some of the Berry Bliss DSP and the One of a Kind stamp set.
Tutorial created by Nicole Stalker http://www.nicolestalker.blogspot.com/ and http://www.nicolestalker.com.au/
Enjoy and please leave a comment and include a link to your creations.


8 comments:
Gorgeous card bag and great tutorial! Hugs and smiles
Very cute card bag with very easy instructions your blog is fantastic beautiful work
Love this! Am planning to make one tomorrow & will post a link!
Thanks for sharing the instructions!
I made one!!! And I'm really happy with how it came together, so thank you again!
It's on my blog http://www.carolinesstamppad.blogspot.com
Hi Nikki
Loved your first cute card bag and was wondering how you did it so thanks for the tutorial. Will definitely have to give it a go after this weekend's big stamping weekend down south!
Take care and keep on creating your beautiful projects.
Lynda
Hi Nikki,
Just wanted to let you know I really like your work. I have added you to my blogroll list.
Cheers
Deanne
xx
Great tutorial Nikki !
I have an award for you, check my blog : http://krista-kris.blogspot.com/2008/08/award.html
Very Cute Nikki!!! i'm thinking I am going to have to get you to do some MIM's now and then hey!!!
hope you are well! Love Keesh x
Post a Comment