I was over at SCS (Splitcoaststampers) recently having a browse and came across a lovely Purse made by Jan of Stamps, Paper, Scissors using the Afternoon Tea Designer Series Paper, Live Your Dreams stamp set, Carousel Notes and a few other items. On closer inspection it turned out to be a lovely Purse suitable for showcasing a few photos. Jan has made a great tutorial to share of her Carousel Notes Purse Book which can be found here.
Now I'm not really a scrapbooker as many of you have probably gathered, but I just had to make one of these myself. I kept a lot of it very similar to Jan's as there's no point changing things that are already great but I did have to alter some things as we either don't have the product available in Australia or I don't own it myself (yes there are some things I don't own.....for those of you that know me rather well).
I haven't added photos as yet as I need to find something suitable but here are some photos of my finished creation.
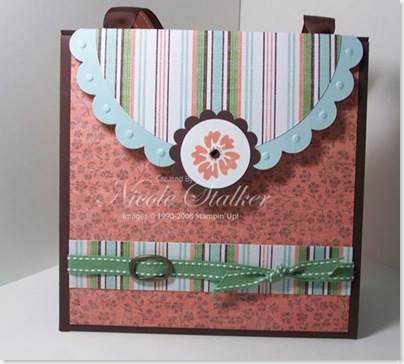
This is the front of the Purse, which I'm sure you already knew.
Doesn't the Afternoon Tea Designer Series Papers look great?
The colours and designs look so much better in real life than in the Catalogues but of course that's normal when you only see a small snippet of each design.
I've purchased and am using so much more DSP this year to last. Not that I didn't like last years but I was determined to buy and use this year not buy and store like last year......hehehe. Seeing I'm not a scrapbooker I found last year that I didn't think to pull out the papers and use on my cards but that has definitely changed and at $11.95 a pack how can you go wrong.
If you've checked out Jan's tutorial you will notice I didn't paper pierce around the carousel note. Unfortunately we don't have the brass templates available in Australia (maybe next IB&C) so I cut my dsp slightly larger and then used my Crop-a-dile to add some dry embossing around the scallop edge of the carousel note.
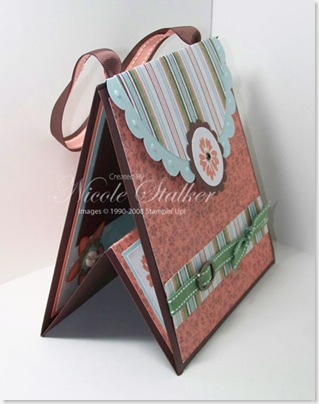
Here's the view from the side:
How nifty is that?
I've used a mini velcro dot to keep it closed so it can be picked up. The handle is a piece of 5/8" chocolate chip grosgrain ribbon with a piece of groovy guava double-stitched ribbon adhered over the top. I've added 2 jumbo eyelets to the back side of the carousel note, threaded the ribbon through and adhered to the back using sticky strip. I've then adhered the back side of the carousel note to the back of the card again using sticky strip. (Just like Jan did her's in the tutorial).
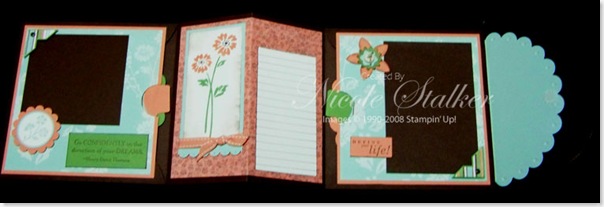
Now for the inside.
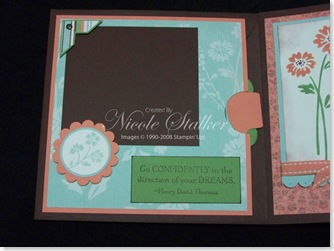
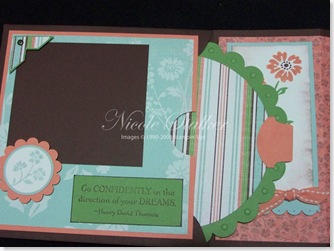
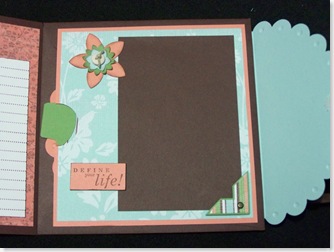
A good majority of this is quite similar to Jan's as I really liked the way she did her layout.
Like to see some close ups of each page?
Left hand page and then with the Carousel Note pulled out.
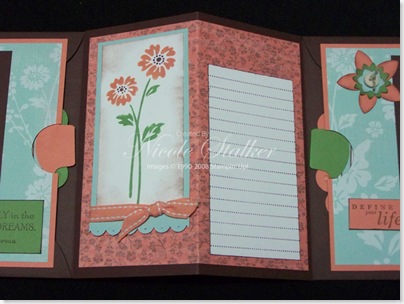
The centre piece.
I'm still contemplating adding a bit more detail here and of course when I select my pictures I'll do a little journalling.
Right hand side page and then with the Carousel Note pulled out.
So do you love it as much as I do? Then pop over to Jan's site and grab the tutorial and create your own. Leave me a comment and link to your creations so I can check them out.
Supplies:
Stamp sets: Live Your Dreams, Define Your Life
Card: Chocolate Chip, Groovy Guava, Soft Sky, Wild Wasabi, Whisper White, Afternoon Tea DSP, Carousel Notes.
Ink: Chocolate Chip, Groovy Guava, Wild Wasabi, Soft Sky.
Accessories: Punches - Scallop Circle, 1 1/4" Circle, 1 3/8" Circle, Scallop Edge, 5-Petal Flower, Spring Bouquet, Round Tab, Photo Corner. Crop-a-dile, 5/8" Chocolate Chip grosgrain ribbon, Groovy Guava double-stitched ribbon, Pewter Jumbo Eyelets, Earth Elements & Neutrals buttons, Hemp Twine - Natural, sponge dauber, sticky strip, stampin' dimensionals, stamp-a-ma-jig, Vintage Brads, velcro dot, Creative Memories Circle Cutters.
